Table of contents
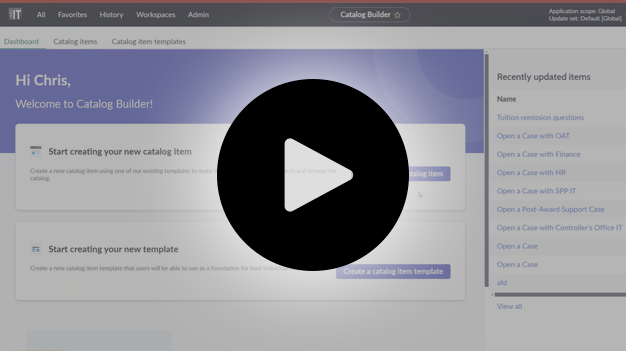
For an overview of Catalog Builder, see the slideshow Catalog Builder process guide, or the screen recording ServiceNow Catalog Builder overview.
To get started with Catalog Builder, use the All menu in your workspace navigate to Service Catalog and then Catalog builder. Catalog Builder will open on the homepage dashboard. From here, you can create a new catalog item, or review recently updated items you have already created. In the recently updated items section, you can see items that are in draft or published. Only Published items will be visible in the catalog.
Create a new catalog item
From the dashboard, click on Create a new catalog item.
The Catalog Builder wizard will walk you through a guided process that allows you to visualize how the catalog item will look before submitting it for publishing.
Select a template
The first step is to select the template to use as the foundation of your catalog item. You should have a template that was created for you by the ServiceNow admin team. If you don’t see a template, please create an incident for assistance.
When you select a template you will be given a preview of the template and the default settings. Press Use this item template to continue.
Define item details
Some of the fields on the template will be non-editable and denoted by a lock symbol to the right of the field. Enter a name, description, and short description for your catalog item.
- In the Questions tab, you will add additional questions (fields on the catalog form) using the question editor. Click Insert new question to add a new field to your catalog item.
- In the Create question window, select a question type and subtype, and in the Details section, add a label and name for this field. Whether the question is mandatory, hidden, or read-only will also be set in this section. The question types are as follows:
- Text: This can either allow a single-line, multi-line, or rich text (allows formatting) field.
- Option: This will allow either a check box or a yes / no question.
- Choice: This will allow a dropdown of values you define, a dropdown of values that are pulled from a table in ServiceNow, a reference to a specific record in ServiceNow (such as a user, department, case number, etc.), radio button, or multi-select of records in ServiceNow.
- Date / Time: Time can optionally be included in the field.
- Display label: A plain text or rich text label.
- Depending on the selected question type, additional tabs will appear in question builder:
- Choices: This will allow you to create the choices that the user can select from.
- Additional details: This will allow you to add text validation (requiring a phone number, IP address, email address), set the table that data should be displayed from and add a filter to limit those options.
- Default value: The value that should appear when the form loads.
- Auto-populate: Populate the value of the field based on another field. For example, populate a Department field based on the selected user in another field.
- Annotation: Help text to assist a user with filling out the catalog item.
Testing
- If your catalog item requires other users to submit approvals, you can use the impersonate feature of ServiceNow to switch to a session as that user and complete the approvals.
- You can impersonate someone by clicking your user icon in the upper right hand corner of the screen and selecting Impersonate user.

- In the window that appears, type a users name or Directory ID and click impersonate. You will be redirected to the IT Support portal and can either navigate back to the platform view or view the approval from the portal. When you are finished, click the user icon in the upper right and select End impersonation.
Move work to production
After your work has been tested, let a ServiceNow admin know the name of your catalog item and the time it was published. This can be found from the catalog builder dashboard. The ServiceNow admin will work with you to schedule a time to move your catalog item to production.


