Files Repository
The ELMS Files area features iconized representations of file types, as well as file details (including Date Created or Uploaded, Date Modified, and file size). In addition, instructors can manage student access to files by enabling or disabling the "Publish" feature. You can upload files from your local computer to the Files area, either one at a time, or in bulk via a zipped file. In the Chrome, Firefox and Safari browsers you can also simply drag and drop files between your local computer and the Files area.
NOTE: The file storage quota for Canvas course spaces is 5000 megabytes (5 gig), by default.
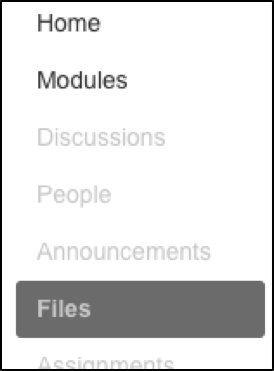
While an instructor can make the Files area itself visible to students from the Navigation menu, in most cases the Files area is just a workspace available to instructors and teaching assistants. Instructors make the Files content available in either the Modules or Pages areas, most frequently.
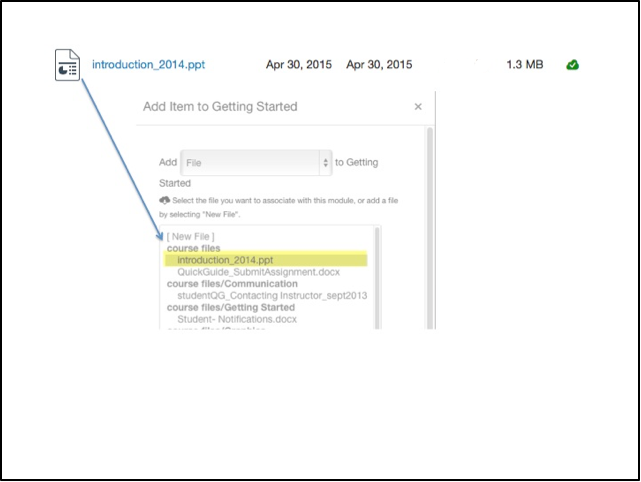
You can upload and link a large variety of file formats, including most word processor and presentation formats, pdfs, audio file formats (e.g., rm, mp3, wma), video file formats (e.g., flv, swf, mov), and digital video formats (e.g., mpg, mpeg, avi, wav, m4v, mp4).
View and Manage Files Area
The Files area is split into two sections. The section on the left provides a quick visual of the folder and file directory structure of the Files area, with the "root" directory being a folder named for the course. The section on the right is where activities such as creating new folders, uploading files, and managing files are conducted.
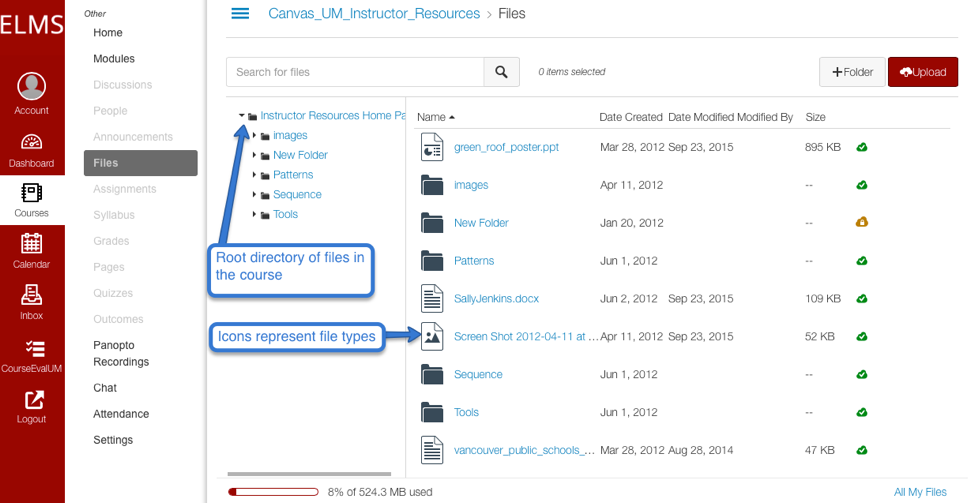
To upload a single file or a zip file, click on the Upload button and search your local computer for the desired file. If you upload a zipped file, you will be prompted to expand the contents or upload the .zip file, as is. Selecting the option to expand will maintain the same folder/file structure in the Files area that it had when the files were compressed into a zipped format on your computer.
Chrome, Firefox and Safari Users
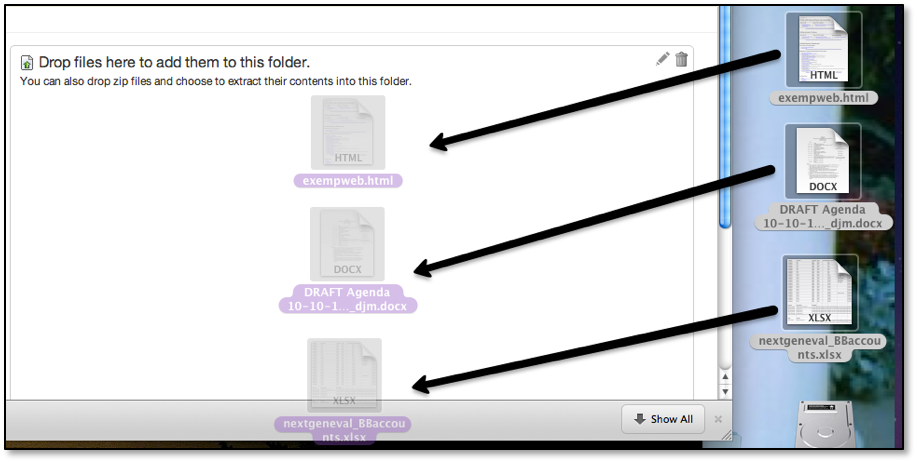
An alternative method of uploading a file or group of files is to drag them from the local computer to the Files area. This feature cannot be used to drag folders of files into ELMS, however. Folders must first be compressed (or zipped).
Once you have a file and/or folder in the Files area, you can use the Options gear to manage it.
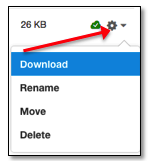
Trace over the row containing a specific file or folder to expose the Options gear. Click the gear icon to Download, Rename, Move (into a different folder), or Delete a file or folder. If you opt to download a folder, ELMS will automatically zip its content.
Student Access to Files
Files that are uploaded to the Files area and then linked into a Module, Page, Assignment or other content area in the ELMS course space, start in a Published state. Clicking the cloud icon to the right of a Files item produces the Editing permissions menu.
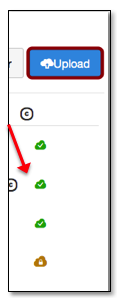
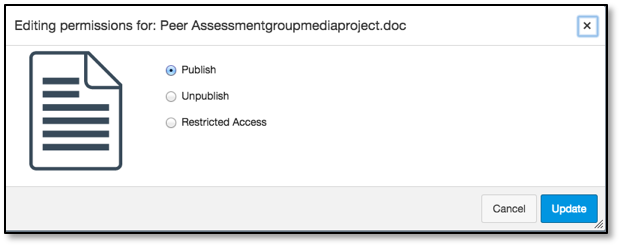
The Editing permissions menu allows you to manage student access to a file:
- Publish: The item is available to students in the linked content area.
- Unpublish: The item is not visible or available to students in the linked content area (this status can be changed either in Files or in the content area to which the file is linked).
- Restricted Access: The file will be hidden to students in Files area. It is a useful option if you make the Files link available to students on the course Navigation menu, but you want to restrict access to some files or folders.
NOTE: This option only applies to the course Files area; if you add this file to another area of ELMS, such as Assignments or Modules, all students can view the file in that location.
